
Baking is a favorite pastime for many people. However, getting started can feel very intimidating especially when your only reference is the baking show you’ve just binge-watched eight seasons of. With that said, having a solid fundamental understanding of baking tools and utensils will go a long way in ensuring your baking dish is successful. Let’s start with baking pans.
Perhaps the most important utensil in baking is the pan in which you bake your goods on/in. While one may assume all pans are created equal, the opposite is true. There are a variety of different pan types, each with its own purpose. The materials a pan can be made of also vary and requires specific handling and care.
In this article, we’ll cover each of the common types of baking pans and how to grease and clean them too.
Types of Baking Pans
Walk down any baking aisle at your nearest home store and you’ll find a plethora of pans that look different and function in different ways. These aisles can be intimidating for any beginner, so let’s go over the most common types right here.
Loaf Pans
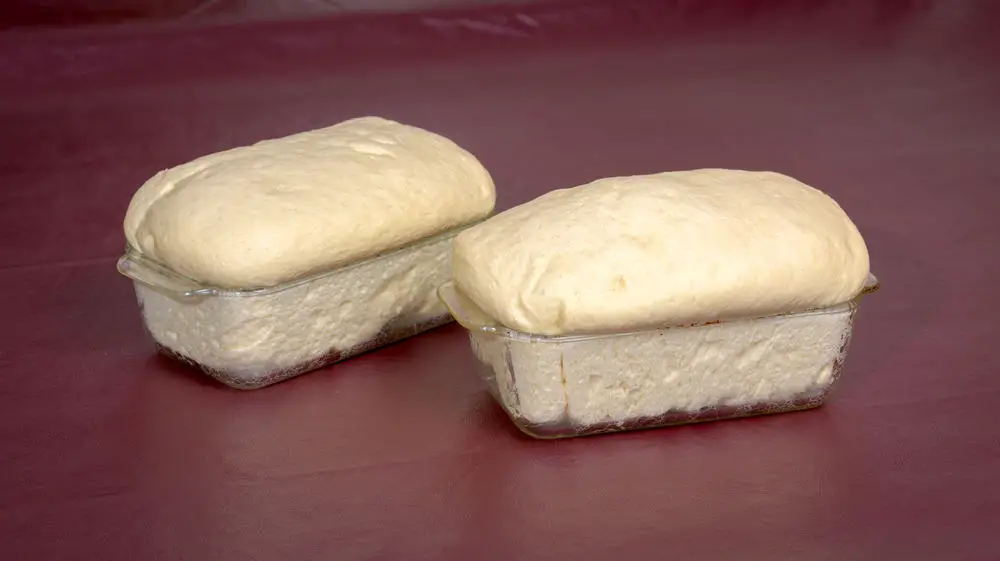
Loaf pans, also referred to as bread pans, are designed specifically for making different types of bread. The deep, rectangular shape of the pan is what gives bread its distinct shape after baking. Loaf pans can vary in size and some are referred to as “Lo-Fat” because the upper pan has holes for fat and grease to be released from your mixture and dripped through a separate pan.
Generally, larger loaf pans are used for creating lighter and more airy bread. Smaller pans, on the other hand, are better for more dense creations like banana bread or other yeast-free loaves.
Round Cake Pans
Round cake pans are among the most common baking tools in most kitchens. These pans can be made from a variety of materials but are distinguished by their circular shape. The depth of a round cake pan also varies as some can be shallow while others are thicker. These pans are typically used in making cylindrical layer cakes and usually measure 8-9inches in diameter. Although the depth can vary, most standard round cake pans are 1 ½ inch thick.
Bundt/Tube Pans
Bundt pans are also referred to as tube pans and are a heavier pan type. These pans also have a decorative outer shell. The decorative shell creates divots and ridges on the exterior of your bundt cake and the heaviness of the pan allows the bake to be more uniform. After baking with this pan, allow your dessert to cool, and then flip the pan over to release the dessert.
Square Cake/Bar Pans
Square cake pans, also sometimes referred to as bar pans, are another standard baking tool you’ll likely find in a kitchen. Like round cake pans, these are typically 8-9 inches wide and have similar depth too. This type of pan is commonly used for square cakes, brownies, and some casseroles.
Some square cake pans also come with dividers that allow you to create various cake shapes without the need for multiple cake pans.
Rectangular Baking Pans
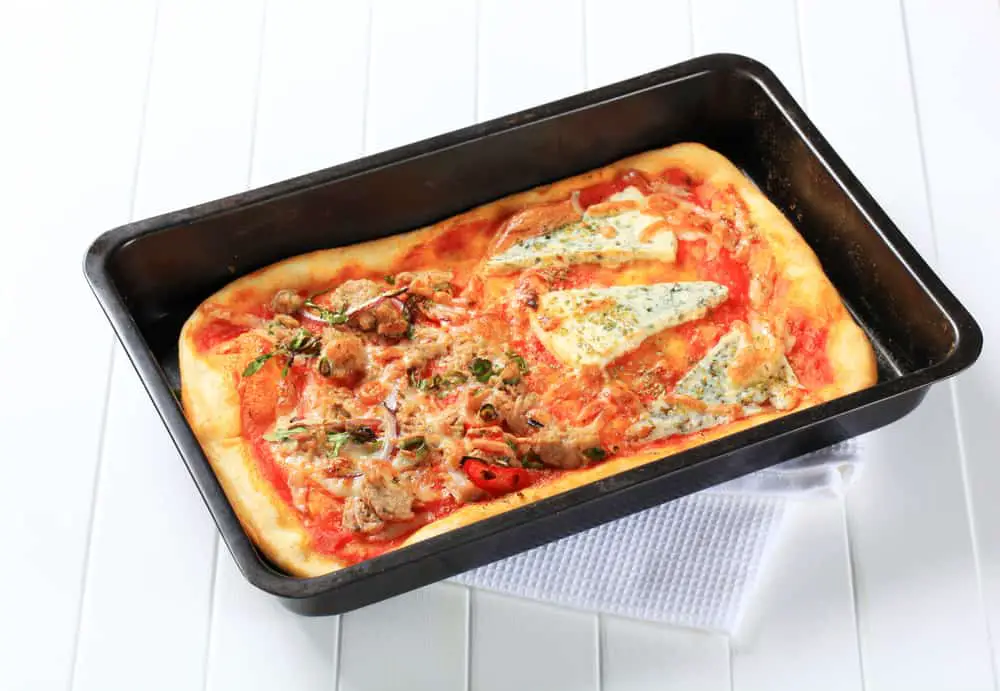
Rectangular pans are similar to square cake pans, aside from the general shape. This pan type is generally used to bake sheet cakes and casseroles and has a similar thickness to both square and round cake pans. In some roast recipes, the directions may also call for use of a rectangular pan.
Baking/Cookie Sheets
Baking sheets, or cookie sheets, are meant for desserts that call for a sticky batter consistency. Depending on the construction of the sheet, the base may be completely flat or it may have a bumpy surface. The bumpy surface is meant to serve as a non-sticking agent. Older cookie sheets may experience hot spots due to uneven heating. However, most newer and good-quality baking sheets will evenly bake your dessert.
Cookie Sheets: Edges vs. No Edges
Generally speaking, cookie sheets are baking sheets that have no edges. This is deliberate as edges can cause you to burn yourself if you hit them while raising the cookies from the sheet. Baking sheets, on the other hand, will have raised edges that can help catch things like grease or other leakages in other baked goods.
Pie Pans
Pie pans serve the same purpose their name states: to bake pies. Pie pans may come in the form of a single large pan or another version that allows you to cook multiple small pies at once. Though these are typically made from glass, they can be found in a variety of materials. These pans are notably circular and some even have waved or ridged edges to help you maintain the iconic pie crust shape after baking.
Sifting Pans
Sifting pans are meant for use in adding air to a dry ingredient to make it feel lighter and have a more uniform texture. Sifters are most often made of metal or plastic and are typically used with flour and powdered sugar in most recipes. For the pan to work, it most often uses a handle you move back and forth to feed the ingredient through a wire mesh.
Cupcake Pans vs Muffin Tins
While cupcake pans and muffin tins may be advertised as separate products, these pans are virtually the same. The only difference in baking the two is that muffins don’t usually require liners and cupcakes do. These pans are typically metal and come with twelve circular compartments to place your batter in.
Springform Pans
Springform pans are almost exactly like your standard round pan. However, there’s one main difference. These pans have a springform lock on the side that releases the sides after baking. This additional feature makes this type of pan perfect for making cheesecakes, tarts, or any other dessert that requires setting before serving.
Brownie Pans
Although you can certainly bake brownies in a typical round, square, or rectangular pan, brownie pans are designed specifically for this gooey dessert. Brownie pans are usually slightly deeper than traditional pans and the composition allows the brownie to bake evenly. Many brownie pans are also coated with a non-stick finish so you don’t have to worry about greasing the pan beforehand.
Jellyroll Pans
Jellyroll pans are extremely similar to sheet pans. However, jellyroll pans are usually smaller than a half-sheet pan and typically have sides that are at least 1 inch high. This height is for accommodating batter as it rises in the oven. This type of pan is best for any dessert that requires rolling to create an inward spiral.
How to Grease a Pan
Although much of modern bakeware boasts non-stick qualities, some materials will still require you to grease the pan. Greasing your pan helps avoid dessert sticking and other possible post-baking disasters. With that said, each material is different and should be treated as such.
Ceramic Baking Pans
Ceramic is naturally non-sticking/so you don’t usually need to use another agent in your bakes. However, it may be helpful to use something like vegetable oil, butter, or other similar items to increase the longevity of your ceramic pan. With that said, it’s important to only use a small amount and clean your pan as soon as you can. Using too much oil or butter and failing to clean it regularly can lead to build-up that becomes more difficult to clean.
Glass
Glass is a pan material that requires some type of grease. In this case, you can use a store-bought spray, vegetable or cooking oil, butter, or ghee to create an anti-stick surface for your mixture to bake in. Regardless of the medium you use, it’s important to ensure you grease all parts of the pan before dumping your mixture into the glass.
Cast Iron
Greasing a cast-iron skillet is important to get correct. With cast iron, it’s best to grease using vegetable shortening, lard, or bacon grease. Vegetable oil should be avoided as it can cause a sticky film on your pan. Coconut oil is another good alternative to use during cooking with a cast-iron skillet as it also adds that distinct coconut flavor to your creation.
Silicone
Silicone should be greased just as most other traditional pans should. For smaller silicone molds, you can usually get away with using a store-bought oil cooking spray. For larger molds, you may want to use something like oil, butter, or cooking fat to avoid dessert stickage. In some cases, you may also choose to add flour to your mold after greasing for additional support.
Insulated
Insulated pans generally don’t need additional methods of greasing as they’re supposed to be non-stickable. These insulated pans use a non-stick surface to create air bubbles that then insulate the pan and keep your dessert from sticking
Aluminized Steel
Aluminized steel is a fancier name for most regular baking pans. For all regular aluminum baking pans, you should grease the surface using a non-stick cooking spray, butter, ghee, or other greasy substance before baking with the pan.
Stainless Steel
Although stainless steel pans sound like they’re maintenance-free, they still require regular cleaning and proper greasing before baking with them. To grease a stainless steel pan, use butter, non-stick spray, oil, or another agent to avoid sticky mishaps.
Dark vs. Light Baking Pans

Both dark and light pans need to be greased with butter or another non-stick agent. With that said, the main difference between the two types is that desserts baked in a dark pan will cook much faster than in a lighter pan. For that reason, dark pan desserts are more likely to burn or develop a crust if you aren’t careful.
The Difference Between Pan Surfaces
Just like the shape, function, and grease requirements vary, so do the surfaces of each pan you choose. There are two main types of pan surfaces: non-stick surfaces and straight pans. Let’s take a closer look at each type.
Non-Stick Surfaces
There are a variety of non-stick surfaces and it’s easy to get the different types mixed up. Let’s briefly go over the varying types and how they are different from each other:
- Polytetrafluoroethylene (PTFE) Coating: PTFE is perhaps the most common non-stick pan type you’ll find in a typical kitchen. These pans work best while cooking and baking at lower temperatures and shouldn’t be used with metal as that will scratch the non-stick surface.
- Silicone Non-Stick Coating: Silicone is made from silica and is a naturally stick-resistant material. This makes it another common material found in kitchens everywhere. With that said, it isn’t 100% stick-resistant and still requires some greasing to get the full non-stick ability.
- Ceramic Coating: While ceramic is mostly stick-resistant, it’s still helpful to provide additional greasing for an optimal baking outcome.
- Enameled Cast Iron: Enamel is added to cast iron by cooking and baking enthusiasts as an additional non-stick agent. It’s also more eco-friendly than other options but it does cause cast iron to cost more.
Straight
Straight pan surfaces allow a pan to have more cooking space than the siding, which then leads to a more even cook at a larger capacity. Straight pan surfaces can be either non-stick or traditional pans. Straight pans also have higher sides, which is helpful in preventing splashing from messier baking dishes.
How to Clean and Care for Your Baking Pans
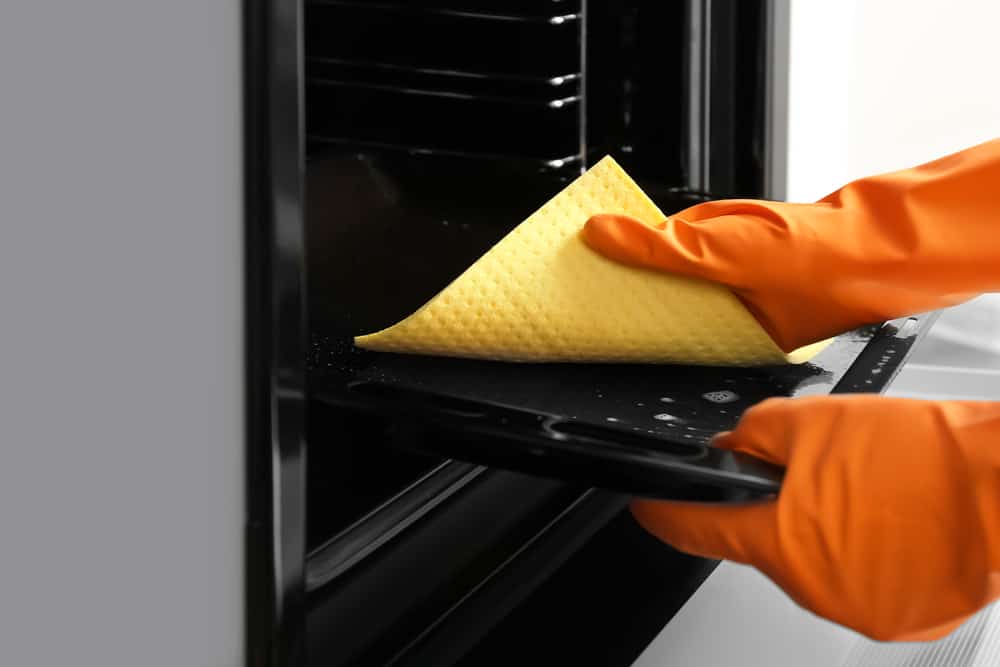
Cleaning a non-stick pan can be nerve-wracking as you attempt to clean away your previous bake without ruining the non-stick surface. To avoid a potential disaster with your non-stick baking pans, follow these tips:
- Avoid running them through the dishwasher. While washing by hand definitely takes more time, excessive heat from a dishwasher can cause the non-stick surface to deteriorate. On top of that, most harsh dishwasher detergents can cause the non-stick surface to break down too.
- Clean the pan as soon as possible. Instead of letting the pan sit for a few days before washing, it’s best to clean it as soon as it has cooled back down to room temperature. Gentle dish soaps that are made to cut through grease are best to ensure you clean off everything from your previous bake.
- Don’t use abrasive pads. While it may seem like these will clean better, the abrasiveness of metal pads or sponges can cut through the non-stick surface and cause damage.
- Use baking soda. Instead of a harsh cleaner, you can mix baking soda, water, and oil until it has a pasty consistency. Use a brush to scrub through tricky food residue and then wash away.
- Make sure your pans are thoroughly dried before storing. If there’s residual moisture on the pan and you store it in a dark area, mold and mildew are more likely to grow. Your pans should be safely stored in a dry cupboard to avoid contamination and mold growth.