
Have you ever tried to take a sponge cake out of the baking tin only to find that it’s stuck? Do your cheesecakes crack irreparably? Are your pastries missing something that you just can’t place? Baking can be one of the most enjoyable hobbies, but if you are missing out on some of these baking tips, it can quickly lead to disappointment and frustration.
This is a baking tips guide for beginners and intermediate bakers alike. We’ve tried to make it as easy as possible, with step-by-step instructions on how to bake the perfect cake, bread, or pastry.
We hope you enjoy this baking tips guide and that it helps you achieve the delicious results you’ve been dreaming of!
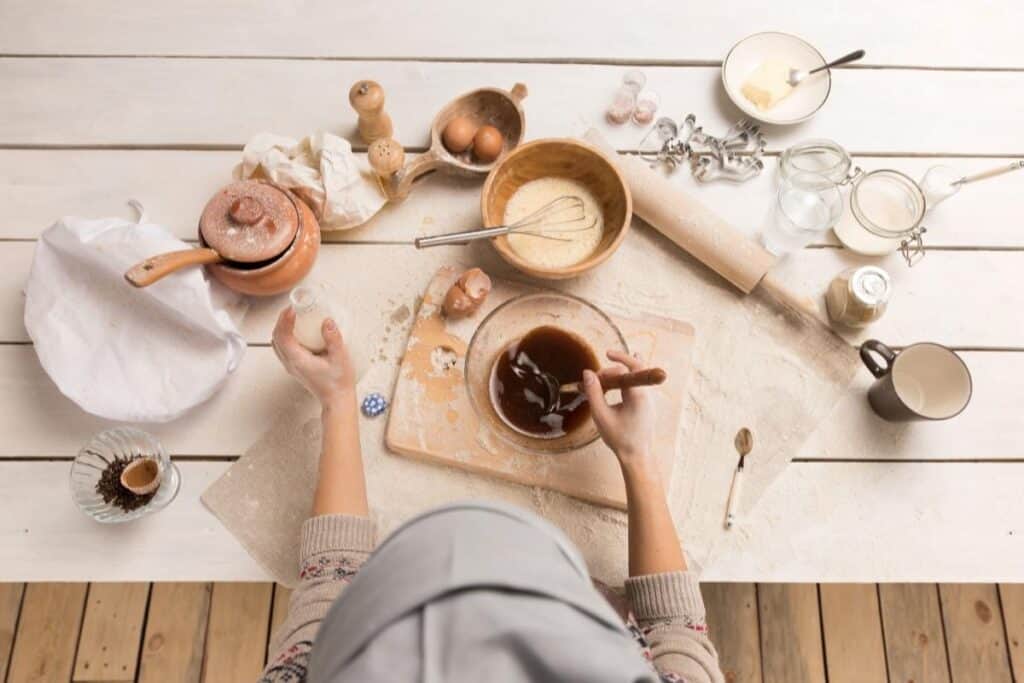
General Baking Tips
Always Read The Recipe
If you want outstanding results when it comes to your baking endeavors, the first thing to do is carefully read and follow the recipe.
Many of us fall into the trap of trying to tweak recipes. Maybe you’ve run out of self-raising flour and think using plain flour won’t hurt, or you prefer to use almond milk rather than oat milk.
However, when you’re just starting out as a baking beginner, you don’t want to play around with the recipe in front of you. Even small changes can drastically alter the taste or texture of the finished product.
Before you start baking, we recommend taking some time to read the recipe all the way through. This will mean that you can be sure you have everything you need and that you understand the steps you will need to follow.
Weigh Ingredients Carefully
This tip sort of ties into our first pointer about following the recipe. When measuring out your ingredients, it is important to weigh them carefully and accurately.
If you can, try to use calibrated weighing scales instead of measuring jugs when getting your ingredients ready (except for liquid ingredients, of course). This way, you can be sure that your batter or dough turns out exactly how the author of the recipe intended.
Remember, you might not feel that an extra few grams of flour or a little less sugar will make a difference, but there’s a very good chance that it will, so stick to the weights and measurements outlined in the recipe and make sure that you have an accurate way of measuring this.
Don’t Use Old Ingredients
This should probably go without saying, but if an ingredient in your recipe has passed its expiration date, please throw it out!
We understand that it can seem wasteful to throw out ingredients, especially if they still look and smell fine, but even if the out-of-date ingredient doesn’t harm your health, it can still alter the texture and taste of your bake.
Let Ingredients Reach Room Temperature
For the most part, you don’t want to be working with ingredients that have come straight out of the refrigerator.
The reason for this is that very cold ingredient can be difficult to work with and may even negatively impact the texture of your cake.
Ingredients like butter and eggs should be taken out of the refrigerator about 30 minutes before you start baking. Remember not to leave them out too long, though. Perishable foods should not be left unrefrigerated for longer than 2 hours.
If you start baking and realize that you’ve forgotten to take your butter out of the fridge in advance, don’t panic! Just fill a bowl with lukewarm water and cut the butter into cubes before placing them in the water for 10 minutes. This will soften the butter effectively.
Please note that this rule does not apply to pastry. If you soften your butter before using it in pastry, you will be left with a greasy mess.
Grease Your Baking Tins
Always make sure that your baking tins and trays are properly greased before you put any batter or dough in them.
You can do this by either rubbing the inside of the tin/tray with a paper towel dipped in oil or by brushing melted butter over the insides of the tray.
Even if you’re unsure whether or not your tin or tray needs grease, simply rub a bit of vegetable oil on the surface. It shouldn’t take more than a couple of seconds to spread the oil around and coat the surface evenly and it will prevent your bakes from sticking to the tray during cooking.
Soften Your Sugar
Many of us keep bags of sugar stored in our pantries for months or even years. Eventually, the sugar will harden and form clumps, which do not bode well for baking.
Luckily, if your sugar has become lumpy, you don’t need to throw the whole bag away. Instead, use this simple trick to soften your sugar and remove clumps.
Empty as much sugar as you need into a bowl and place a damp paper towel over the top. Then, simply put the bowl in the microwave for 20 seconds. The moisture in the towel will pass into the sugar, assisted by the heat, and soften the sugar enough to make it smooth again.
Stop Overmixing
A very common mistake that new bakers, and even more experienced baking enthusiasts, make regularly is overmixing their batter.
When you’re trying to achieve a silky-smooth consistency, it can be tempting to keep mixing for much longer than you actually need to. Unfortunately, this can negatively alter the texture of the batter.
The key is to carefully read the recipe and interpret the wording used to describe how the batter should be mixed. Many recipes simply say to stir or whisk until well mixed, in which case, it’s pretty hard to overmix.
However, if the recipe instructs you to ‘fold’ the ingredients, especially if it specifies that you should do so gently, you’ll need to exercise some restraint in your mixing.
For future reference, the folding batter should simply involve using a spatula to gently bring the batter at the bottom of the bowl to the top a few times until the ingredients are fully combined. Turn the bowl 90 degrees each time you fold to make sure that you mix from all angles.
More Baking Tips: The Oven
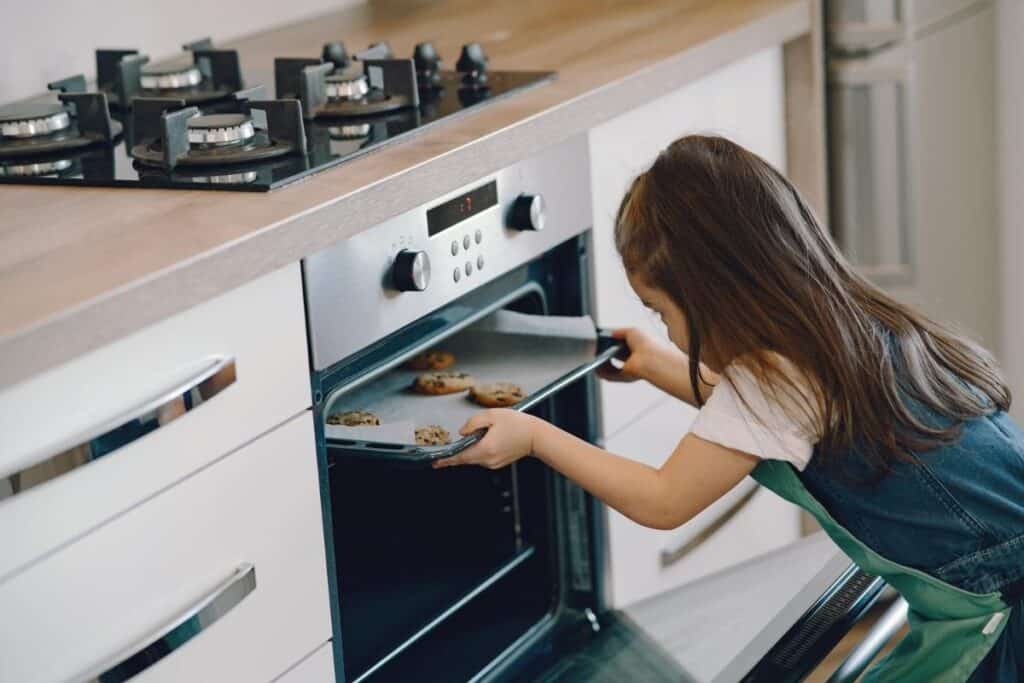
Watch Your Oven
How many times have you taken a cake out of the oven after the exact amount of time specified by the recipe, only to find that it’s burnt or not quite ready? If you’re sure that you’re setting the temperature correctly, this simply means that your oven works at a slightly different pace.
The best way to ensure that your bakes don’t overcook in your oven is to keep an eye on them. Ideally, your oven should have a glass window so that you can look through it for monitoring purposes. This way, it’s easy to tell if your cake is getting more brown than golden before the timer runs out.
Don’t Open the Oven Door
This is a related point to the one above, and it’s very important. It may be hard, but you should do your best to resist the urge to open your oven door every 5 minutes.
Even with a glass oven door, it can be tricky to assess the color of your bake. Therefore, many beginner bakers find themselves opening the door to take a peek every so often.
Unfortunately, this lets a lot of heat escape from the oven, so the cooking time is affected. If you’re baking something like a souffle, allowing heat to leave the oven could cause it to fall flat.
We recommend setting a timer for the estimated cooking time and bringing a chair so that you can sit near the oven and look through the glass. Try to schedule an oven cleaning every few months to make it as easy as possible to assess the progress of the bake through the glass without opening the door.
Bake In the Middle Of the Oven
Optimal temperatures tend to be maintained in the middle of the oven as opposed to the top or the bottom. So, if you want your baked goods to cook in the time specified in the recipe, your best bet is to place the cakes or pastries right in the middle of your oven. This will also help them to cook more evenly.
Baking Tips: Cake
Do the Skewer Test
If you’re baking a cake (including cupcakes), one of the most important steps in the baking process is the skewer test. This might seem like a small thing, but it’s by far the best and easiest way of ensuring that your cakes are fully cooked.
When you think your cakes are cooked, take a metal skewer and gently insert it into the center of the cake. If it comes out clean, your cake is ready. If not, put it back in the oven for a few more minutes and try again.
Use Cornflour For Sponge Cakes
Did you know that replacing some of your self-raising flour with cornflour can help you to bake a lighter, fluffier sponge?
Just substitute 25 grams of the regular flour for cornflour and watch the magic happen! However, you might not want to use this tip if you’re planning on icing the cake with thick frosting because the cake might be too light to handle.
Moisten With Sugar Syrup
One of the hallmarks of a good sponge cake is moisture content. A sponge cake should be both fluffy and moist, which is a tricky balance to get right.
You can make a homemade sugar syrup using 75 ml of water and 75 g of caster sugar, heated up in a saucepan. Then all you need to do is apply the syrup in between the layers of your sponge cake and it will stay moist for days!
Use An Ice Cream Scoop For Cupcakes
If you struggle to make your cupcakes the same size, one of the best tips I’ve learned is to use an ice cream scoop to measure the batter into the cups.
An ice cream scoop is a perfect size for the average cupcake. By making sure you fill the scoop up to the top each time, you’ll ensure that your cupcakes are all almost exactly equal.
Bathe Your Cheesecake
Cheesecakes are prone to cracking, which can spell disaster for your dessert! To prevent this from happening, you should give your cheesecake a water bath before putting it in the oven.
Simply fill a flat baking pan with water and put the cheesecake (still in its tin!) in the water for a few minutes before transferring it to the oven. You’ll notice that your cheesecake doesn’t crack at all when you remove it from the tin.
Baking Tips: Dough
Flour Your Surfaces
Before rolling out dough, you should ensure that your work surfaces are adequately floured. Sprinkling flour across your countertop will stop the dough from sticking, making it easier to work with and ensuring that nothing goes to waste.
Use Up Your Leftovers
If you find that you have small dough trimmings left over after cutting your pastry or cookie shapes, try to use them up! Even if you don’t have enough to make anything right now, you can save the dough and put it in your refrigerator in some cling film for up to 48 hours.
Once you have a modest amount of dough, you can make some jam tarts by shaping the dough into little cups and filling them with jam!
Remember to Glaze
Glazing can truly bring a pastry into its own! Glazing your pastries will give them more color, a shiny appearance, and help to seal up the edges.
You can make a simple egg wash from either egg and water or egg and milk and brush it lightly over your pastries using a pastry brush or a small square of baking paper before putting them in the oven.
Final Baking Tips
We hope that our tips and tricks for better baking have helped you today.
Remember that the most important thing when it comes to baking is practice. Even if you follow all these baking tips, it may still take some time to perfect your skills, and that’s okay! The most important thing is that you enjoy yourself and the results of your baking.